
Clipper blade: when to change it and how to look after it (2026 guide)
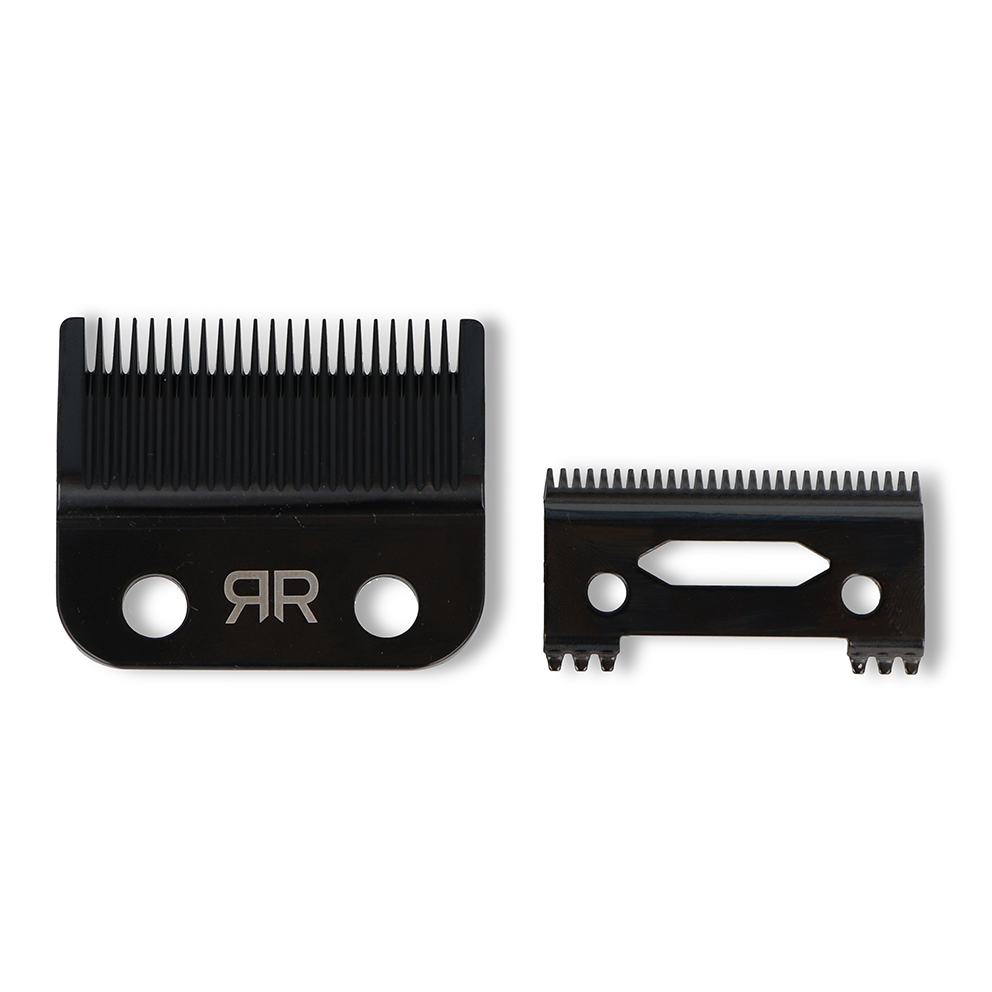
The clipper blade is the part that decides the quality of a cut, far more than the motor or the brand written on the housing. A top-end machine fitted with a tired blade pulls at the nape, leaves marks in a fade and costs you five minutes per client. Conversely, an entry-level clipper whose blade is clean, oiled and properly set cuts sharply on the first pass.
This guide explains how to spot a blade at the end of its life, how long it really lasts given your volume, which material to choose, and the three maintenance habits that triple its lifespan.
Why the clipper blade matters more than the machine
A clipper is two stacked blades: a fixed blade underneath and a moving blade on top, travelling back and forth very fast. The hair is not shaved, it is sheared between the two, exactly as between the arms of a pair of scissors.
Everything follows from that. If the edge of the teeth dulls, if hair debris lodges between the two blades, or if the gap is wrongly set, the hair is no longer cut: it is pinched and torn out. That is the pulling sensation clients complain about, and it is also what makes a clipper blade heat up to the point of being unpleasant on the skin.
The practical consequence: before replacing a machine because it “cuts badly”, change the blade. In the vast majority of cases the problem ends there, and a new cutting head costs a fraction of a whole clipper.
The 6 signs a clipper blade is finished
A blade almost never dies suddenly. It degrades gradually, and you get used to it without noticing. Here are the signals to watch:
- It pulls. The client flinches or winces, especially at the nape and the outlines. That is the number one sign.
- It heats up fast. A good blade warms up; a worn blade becomes hot within two or three minutes.
- It leaves marks. You have to go over the same spot two or three times to clear a line in a fade.
- It clogs. Hair builds up between the teeth instead of being cleared, especially on thick or damp hair.
- The sound changes. A metallic rattle or a deeper hum often signals misalignment or a bent tooth.
- The teeth are visibly damaged. Look at the blade side-on in the light: a chipped, bent or rounded tooth cannot be saved.
A simple test, once a month on every clipper blade in the salon: run a lock of cut hair over the blade while the machine is on. If it is severed cleanly on the first pass, all is well. If it slips or jams, the blade needs changing.
How long does a clipper blade last?
There is no universal figure: everything depends on the number of cuts, the hair type and above all the maintenance. Here are realistic orders of magnitude for professional use, assuming the blade is oiled and cleaned regularly.
| Use | Indicative volume | Typical lifespan |
|---|---|---|
| Busy barbershop (fades, outlines) | 15 to 25 cuts a day | 6 to 12 months |
| Mixed salon (occasional men’s cut) | 3 to 8 cuts a day | 1 to 2 years |
| Finishing trimmer (outlines only) | Short but very precise use | 6 to 12 months, precision goes first |
| Home use | 2 to 4 cuts a month | Several years |
Two factors shorten these figures sharply: cutting wet or product-laden hair, because salt and residue attack the edge, and leaving the blade unoiled. Conversely, a barber who oils the clipper blade between each client easily doubles its life.
A useful rule for stock: keep one spare blade per machine in service, ordered before you need it. A clipper blade that gives up on a Saturday morning costs far more than the part itself.
Which material for your clipper blade?
Manufacturers multiply the names, but there are only a few real families. The right choice depends mostly on your volume and on how disciplined you are about maintenance.
| Material | What it gives | The weak point | For whom |
|---|---|---|---|
| Carbon steel | Very clean cut, sharpens well, moderate price | Rusts if not oiled, dulls faster | Everyday use, provided you are strict about oiling |
| Stainless steel | Does not rust, more forgiving maintenance | Holds the edge slightly less long than carbon | Salons where several people share the machine |
| Ceramic | Runs noticeably cooler, very comfortable on the skin | Fragile, a drop can chip the teeth | Long sessions, sensitive skin, demanding fades |
| Titanium or titanium coating | Good resistance to wear and corrosion | Higher cost | High-volume barbershops |
| DLC (diamond-like carbon coating) | The best edge retention over time, glides very well | The most expensive, cannot be sharpened like bare steel | Intensive daily use, where machine downtime is costly |
A simple way to think about it: if you change your clipper blade less than once a year, steel does the job very well. If you go through two or three a year, the extra cost of a titanium or DLC head pays for itself within months. Manufacturers publish their own compatibility charts, such as Wahl Professional or Gamma Più, and our comparison of clipper brands sums up where each one sits.

Sharpen or replace a clipper blade?
Both options exist, but they answer different problems.
- Sharpening makes sense for a quality steel blade whose teeth are intact but whose edge has dulled. A professional sharpener trues the contact surface. A blade can take several passes, but it loses a little material each time.
- Replacement is required as soon as a tooth is bent, chipped or missing, as soon as the blade is pitted with rust, and for most coated blades: sharpening removes precisely the layer that makes them worth having.
In practice, many Swiss salons rotate their blades. The new clipper blade goes into service, the old one becomes the spare, and the most tired one is used for cuts on very dirty hair or for demonstrations. That avoids a sudden stop mid-rush.
Setting up: alignment and zero-gap
A new blade badly fitted cuts worse than an old blade well set. After each reassembly, check the alignment: the moving blade must sit slightly back from the fixed blade, by about half a millimetre to a millimetre, and its teeth must never overhang at the sides. A moving blade flush with the fixed blade turns the clipper into a razor and cuts skin.
Zero-gapping means exactly that: bringing the two blades as close as possible for very sharp outlines. It is a technique for experienced barbers, not a default setting: done badly it causes micro-cuts, makes the clipper blade run hot and wears both parts prematurely. If you use it, dedicate one machine to it and keep a second clipper set normally for everything else.
Daily care of a clipper blade in three steps
This is the part that pays off most. Three steps, under a minute in total, and the blade lasts two to three times longer.
- After each client: brush. A cleaning brush run between the teeth clears the cut hair before it packs down. That packing is what creates friction, and therefore heat.
- Several times a day: oil. Two or three drops of blade oil, machine running, along the line of teeth. Let it run for five seconds then wipe off the excess. Do not use cooking oil or multi-purpose lubricant: they gum up instead of lubricating.
- At the end of the day: disinfect. A dedicated disinfectant spray, then dry it completely. A clipper blade put away damp will rust, even stainless. The full protocols are set out in our guide to hygiene and disinfection in the salon.
A point that comes up often: many “3-in-1” or “5-in-1” sprays clean and disinfect but barely lubricate. They do not replace oil. Keep both in the drawer. Everything you need is in our clipper accessories and our hygiene products.
Choosing a clipper blade that fits your machine
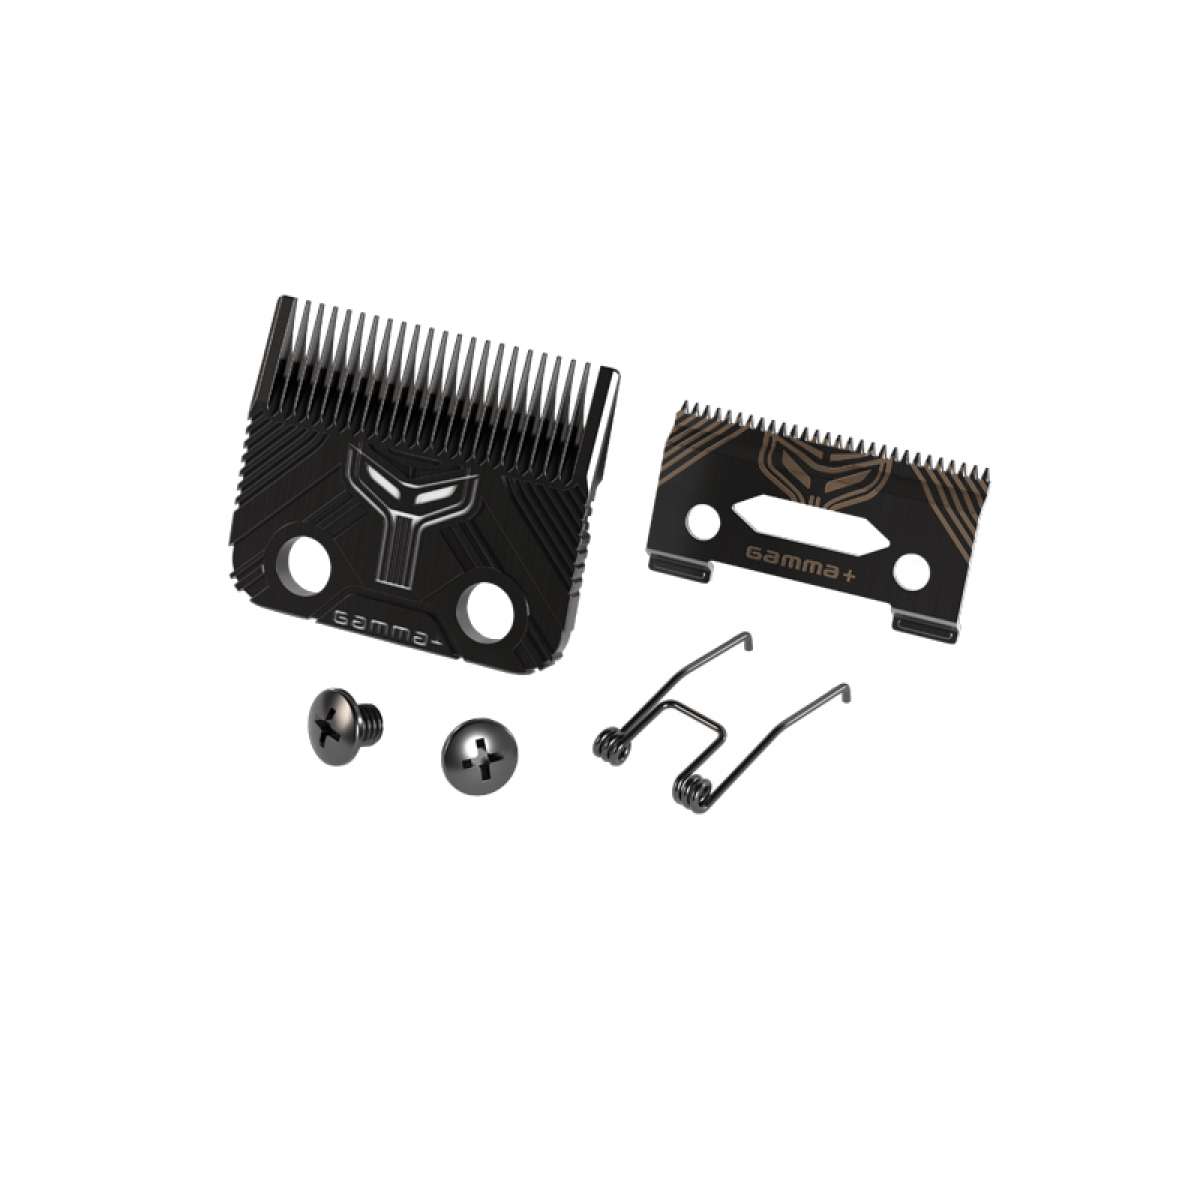
Cutting heads are not interchangeable between brands, and sometimes not even between two models from the same brand. Before ordering a clipper blade, note three things:
- The brand and exact model of the clipper, as engraved on the housing or underneath the machine.
- The blade width, usually 40 or 45 mm. A wider blade covers ground faster, a narrower one is more precise on outlines.
- The mounting type. Some heads clip on, others screw on, and a clip does not replace a screw fitting.
If in doubt, ask for confirmation before ordering: it is quicker than a return. Our cutting heads cover the main BaByliss Pro, Wahl, Gamma+ and StyleCraft models, and our buying guide for professional clippers sets out which fits which machine.
What a clipper blade really costs
The purchase price is misleading, because it has to be set against the number of cuts. A budget blade changed twice a year often works out dearer than a coated blade kept for two years, without counting the time lost going back over fades.
The right calculation has three lines: the price of the blade, the number of months it lasts in your salon, and the number of cuts made in that time. Per cut, the gap between a cheap blade and a high-end one becomes tiny, while the difference in comfort is immediate for the client and for the working hand.
Add to that the fact that the blade protects the rest of the machine: a blade that struggles makes the motor run hot and shortens the life of the whole clipper. The same reasoning applies to all your equipment, as set out in our guide to caring for hairdressing equipment.
Stripping, cleaning and refitting a clipper blade
A deep clean once a week is enough to catch what daily brushing leaves behind. It takes five minutes and needs only a screwdriver, a brush and some oil.
- Unplug it or remove the battery. It sounds obvious, but a machine that starts while you are stripping it damages both the blade and your hand.
- Note the position before unscrewing. Take a photo on your phone. It is the best insurance against a sloppy reassembly, and it saves you hunting for the right alignment afterwards.
- Undo the two screws and separate the blades. Keep the screws in a small container: they are tiny and vanish instantly.
- Brush each blade separately. Work on the inner face, where hair debris and sebum form an invisible greasy film.
- Refit, set, oil. The moving blade stays slightly back, the screws are tightened firmly but not excessively, then you oil and run the machine empty for ten seconds.
If the cut is still uneven after this full clean, the diagnosis is made: the clipper blade is worn, not dirty. A blade that simply needed cleaning always gets its bite back.
Guide combs and cutting combs wear the blade too
It is easy to forget that accessories contribute to wear. A cracked or warped guide comb lets the blade work at an angle, which tires the teeth on one side only and creates exactly the lines you then spend time clearing.
Three habits to adopt: check the guide combs against the light once a month and throw away any that are cracked; never force a comb that does not clip on cleanly, because that means it is not meant for that clipper blade; and wash them regularly in warm soapy water, then dry them completely before putting them back into service.
The same applies to cutting combs, whose teeth round off over time. Our clipper accessories cover replacement guide combs by brand, and our guide to professional combs and brushes covers the rest.
The special case of finishing trimmers
Finishing trimmers, often fitted with a T-blade, follow slightly different rules. They work on small areas: outlines, nape, around the ear and beard lines, with a demand for precision well above the rest of the cut.
The direct consequence: a finishing clipper blade does not wear out because it has cut a lot of hair, but because it has lost its edge on the few millimetres that make the line. You will not feel it pulling, you will simply see the line become blurred and need two passes instead of one.
Two useful habits. First, judge it on the result, not the feel: if the line is no longer crisp on the first pass, the blade is finished. Second, do not use it to rough out a full cut, which dulls it for nothing and deprives you of your most precise tool at the worst moment.
Many barbershops change the blade on their finishing trimmer twice as often as on the main machine. That is normal, and it is the item where it pays least to economise.
Frequently asked questions
How often should a clipper blade be oiled?
In professional use, ideally between each client, and at the very least at the start and end of each day. A few drops are enough: too much oil attracts cut hair and fouls the blade.
How do I tell whether a clipper blade is worn or just dirty?
Clean and oil it first, then cut again. If the pulling disappears, the blade was dirty. If it persists, the blade is worn.
Why does my clipper get so hot?
In order of likelihood: lack of oil, hair packed between the blades, a worn blade, then poor alignment. Test in that order before blaming the motor.
Can you cut wet hair with a clipper?
Some machines allow it, but it wears the blade much faster and encourages rust. If you do, dry and oil immediately afterwards.
Should both blades be changed or just the moving one?
Both, together. They wear against each other and have learned to work as a pair. Fitting a new moving blade onto a worn fixed blade gives an uneven cut.
Do you need a different blade for outlines and for cutting?
Ideally yes. A wide blade covers lengths quickly, a narrow or finishing blade gives cleaner outlines. Many barbers work with two machines set differently rather than changing blade mid-cut.
Does a new blade need breaking in?
No, but it deserves oiling before the first pass and a check on alignment. A blade straight out of the box is sometimes set a little too far forward.
Can a clipper blade be cleaned with water?
Only if the manufacturer explicitly says so. In any case, dry it immediately and oil it straight after, or rust will set in within hours.
The short version
The clipper blade is the most profitable consumable in a salon: the cheapest part and the one with the greatest effect on the result. Brush after each client, oil several times a day, disinfect in the evening, and keep a spare blade in reserve. When the cut deteriorates, change the blade before you change the machine.
To go further, see our guide to barber clippers and the checklist for equipping a barbershop.